The production process of PCB prototypes
Have you ever wondered how Printed Circuit Boards, PCB prototypes were made? Or maybe you wanted to make one for a project or just for fun and did not know how to go about it.
What are PCBs?
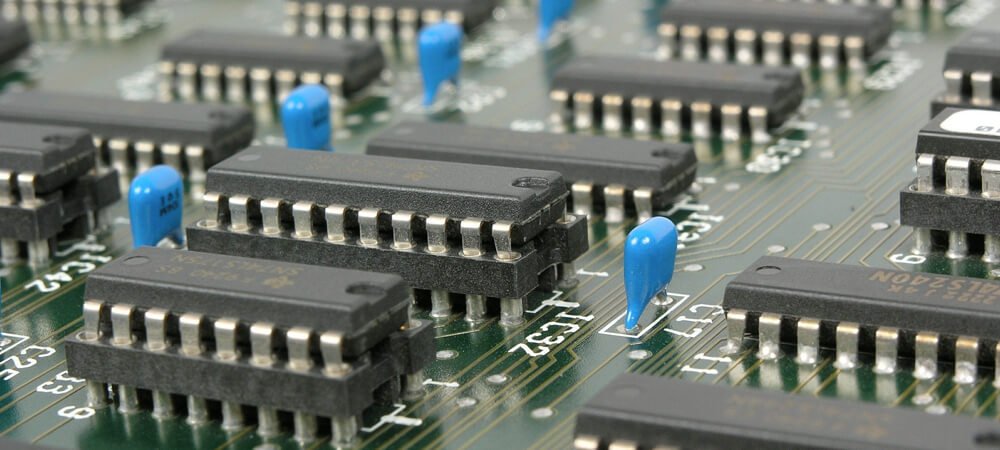
First of all, let us do a little refresh on what PCBs are. PCBs are printed, flat boards that offer support for all electrical components, both mechanically and electrically. PCB can be found everywhere in electronics, from TVs, DVDs, laptops, and computers. Even calculators and some toys contain PCBs too. If you know what the motherboard of a computer looks like, then you have an idea of what a PCB looks like. A PCB prototype is often built first to know how subsequent boards will look like in any production scale, whether big or small.
First step involved in production of PCB prototype
Before these printed boards are made, some factors have to be considered to determine how the board should look like. Gerber files are vector image file format, which serves as a blueprint used to visualize how the printed boards will look. The panels are arranged by layers, with each component highlighted in a different color. EAGLE CAD is a very popular software used for this purpose.
If you are handling the production of the board yourself, you send the Gerber files, with the proper documentation, and the physical specifications to the company, and they give you a quote. But if it is a company like UET PCB, the files are forwarded to the department that will physically produce the boards.
Make stencils for the boards
The stencil for the boards is then made. The stenciling is the design following the routing, is be on acetate. After this, it is exposed to UV light, usually for 15 minutes or more, to harden the photoresist film. NaOH or a strongly alkaline solution is then used on the boards, and as they are dipped into the solution, they turn green.
The fusing of the different layers are done, and all parts are plated with copper for electrical conductivity. Holes are drilled, with the silkscreen attached after drilling. The printed boards are fully dipped into alcohol, preferably isopropanol alcohol. This step is important to make the copper stand out. It should be shiny at this point, and the boards are finished off with soldering, either done with a rework station, if you are doing it yourself, or solder mask industrially. The repaired boards cut from the panel and then equipped with any additional parts that are required. Finally, the board is tested for electrical conductivity to ensure it works perfectly. Your prototype printed circuit board is now ready, and this finished product will now give you an insight into how the next boards will be.
Final Thought
UET PCB will help build PCB, as we specially deal in the assembling of boards, particularly prototypes. Are your best bet for everything assembling and fabrication as all processes are done using advanced equipment. UET PCB also sends free samples and constructs all boards to be highly compliant with IPC 610-D standards. For your next prototype board, let UET PCB handle it.